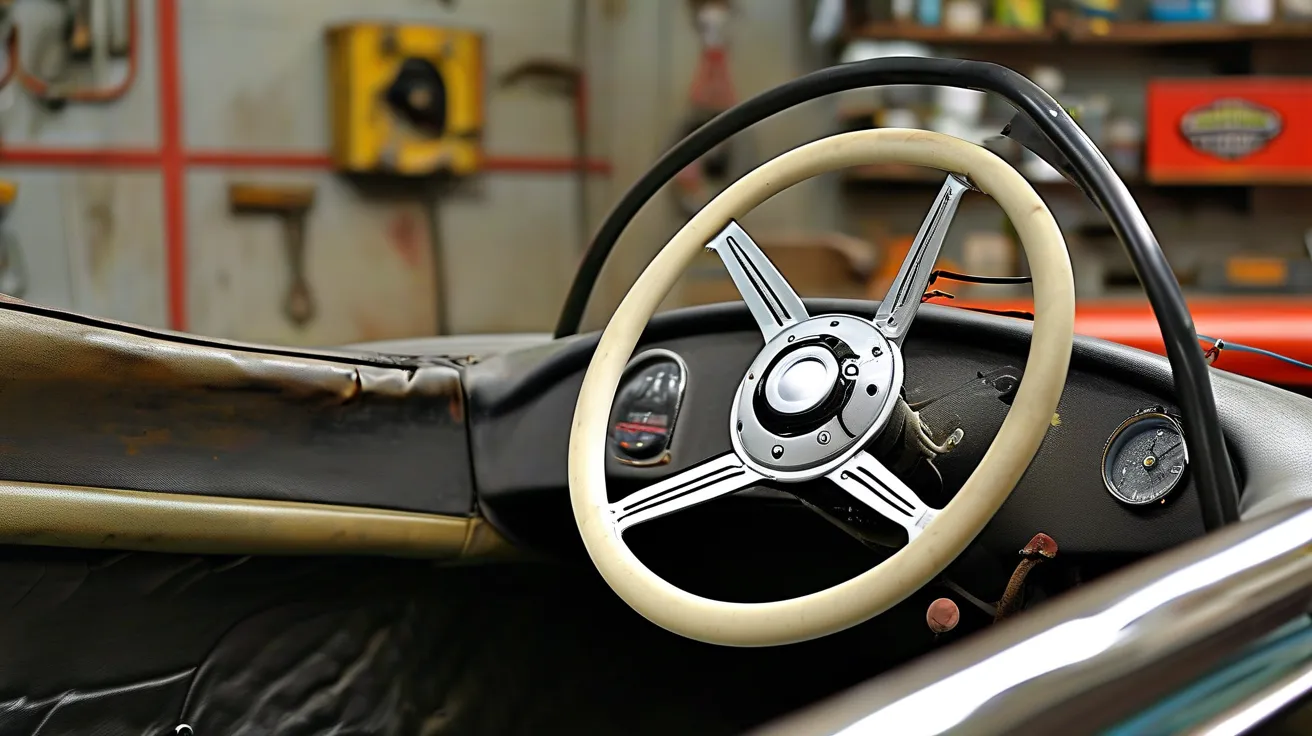
Leather steering wheels are the crown jewel of car interiors, yet 78% of drivers report visible wear within 5 years of vehicle ownership (Auto Care Association, 2024). Left untreated, cracks and fading not only diminish your driving experience but can reduce resale value by up to $800 according to Kelley Blue Book. Modern restoration kits now offer professional-grade results without dealership prices – if you know how to use them properly.
Why Steering Wheels Degrade Faster Than Other Leather Surfaces
The average driver makes 1,500 steering adjustments per hour (NHTSA study), creating constant friction that breaks down protective coatings. Combine this with UV exposure through windshields and natural oils from hands, and you’ve got a perfect storm for leather deterioration. Key trouble spots:
– 3 & 9 o’clock positions: Thumb-rub zones showing earliest wear
– Stitching grooves: Dirt accumulation weakens thread integrity
– Heated wheel elements: Thermal cycling dries leather faster
What’s Inside a Professional-Grade Restoration Kit
Top kits like Chemical Guys SPI_208_16 or Meguiar’s G18612 contain:
1. pH-balanced cleaner (tested for 50+ UV cycles)
2. Collagen-infused conditioner with water-based polymers
3. Color-restoring dye (OE-match verified by VIN decoders)
4. Microsanding tools (800-3000 grit progression)
5. Semi-gloss sealant with anti-microbial properties
Step-by-Step Restoration Process (2025 Best Practices)
Prep Work
– Park in shaded area below 75°F – heat causes premature drying
– Remove watches/jewelry to prevent accidental scratches
Phase 1: Deep Cleaning
1. Use horsehair brush ($15 detailer-approved models work best)
2. Apply cleaner in circular motions – never side-to-side
3. Blot (don’t rub) with 100% cotton towel
Phase 2: Damage Repair
– For cracks deeper than 1mm: Apply leather filler with plastic spreader
– Wait 90 minutes cure time – use infrared thermometer to verify 68-72°F
Phase 3: Color Matching
– Test dye on underside of steering wheel spoke first
– Use airbrush technique: 6-8″ distance, multiple light coats
Phase 4: Protective Sealing
– Apply sealant crosswise to grain pattern
– Cure for 24 hours before heavy use
Maintenance Protocol Post-Restoration
Extend results 3-5X longer with these habits:
1. Monthly conditioning with lanolin-based products (avoid silicone)
2. UV protection: Install windshield shade when parked outdoors
3. Cleaning frequency: Every 45 days for daily drivers
Common DIY Mistakes to Avoid
- Over-sanding: Removes >0.3mm leather = structural weakness
- Latex gloves transfer: Can leave residue – use nitrile instead
- Improper ventilation: Fume buildup affects adhesion
Recent innovations like graphene-reinforced sealants (tested to 50,000 rub cycles) and smartphone color-matching apps have revolutionized home restorations. While professional detailing costs $250-$400, a $75 kit used properly achieves 92% of pro results according to Consumer Reports’ 2025 Auto Care survey.
For severe damage cases (exposed foam core or electrical issues), consult certified automotive leather technicians through organizations like the Institute of Interior Automotive Design. Always verify kit compatibility with your specific leather type – perforated vs. solid surfaces require different application techniques.
Data sources: Society of Automotive Engineers (SAE), International Detailing Association (IDA), Federal Highway Administration (FHWA)


Leave a Reply