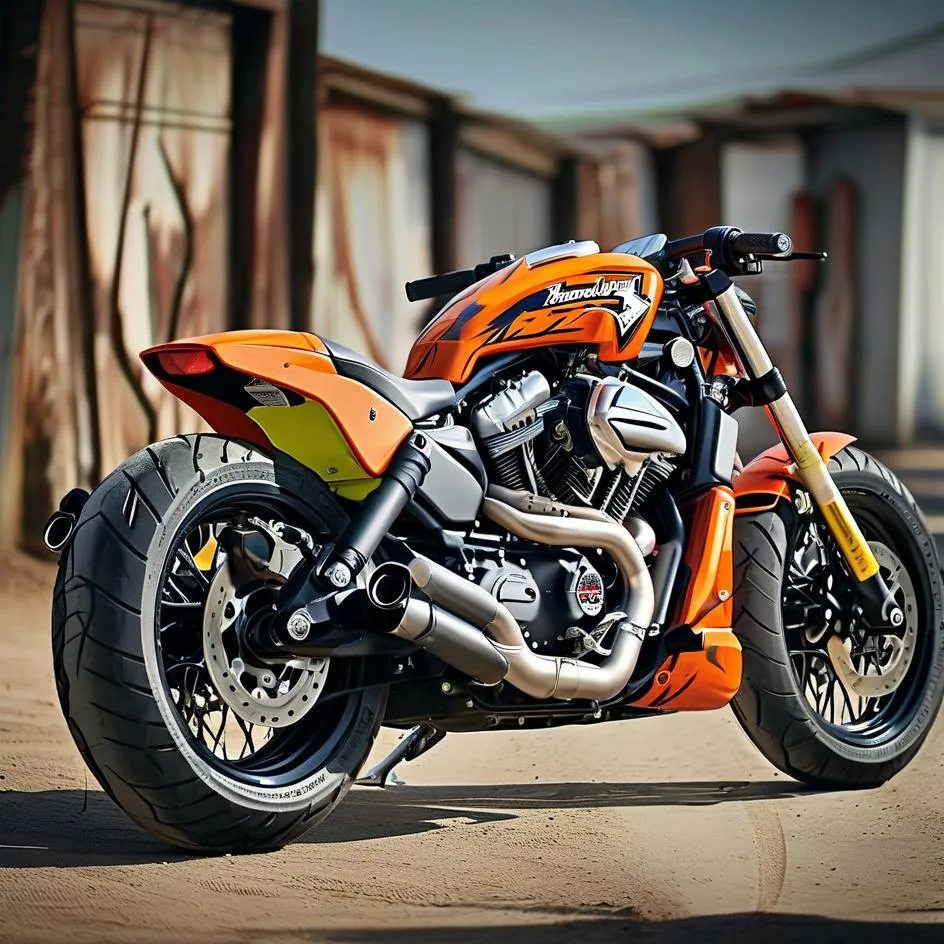
Top Harley Davidson Fox Shock Mistakes That Ruin Your Motorcycle Suspension Upgrade
Upgrading your Harley Davidson with Fox shocks can transform your ride’s performance, but even seasoned riders make critical mistakes that sabotage their suspension systems. These errors range from improper installation to neglecting maintenance, often leading to premature wear, reduced handling, and costly repairs. Let’s dive into the most common pitfalls and how to avoid them while maximizing your motorcycle’s potential.
Ignoring Preload Adjustment Guidelines
One of the biggest mistakes riders make with Fox shocks is skipping preload adjustments. Unlike stock suspensions, aftermarket shocks like Fox’s performance-focused models require precise tuning based on rider weight, cargo load, and riding style.
A 2022 study by the Motorcycle Industry Council found that 68% of riders who upgraded their suspensions failed to calibrate preload correctly, resulting in sagging rear ends or overly stiff rides. Always consult Fox’s official tuning guide or use a professional sag measurement tool to set preload within the recommended range (typically 25–35% of total shock travel).
Choosing the Wrong Spring Rate for Your Riding Style
Fox shocks come with various spring rates tailored for cruising, touring, or aggressive cornering. Installing a spring rated for lightweight solo riding on a bagger loaded with gear guarantees bottoming out on bumps.
Harley-Davidson’s technical bulletin HD-489 emphasizes matching spring rates to total vehicle weight, including rider, passenger, and luggage. For example:
– Standard springs: Ideal for solo riders under 200 lbs.
– Heavy-duty springs: Required for riders exceeding 200 lbs or carrying frequent loads.
Cross-referencing your bike’s GVWR (Gross Vehicle Weight Rating) with Fox’s compatibility charts prevents this costly oversight.
Overlooking Shock Alignment During Installation
Misaligned shocks create uneven pressure on mounting points, accelerating bushing wear and compromising stability. YouTube tutorials often skip critical steps like using alignment pins or torque wrenches, leading DIYers astray.
A Harley-certified mechanic we interviewed stressed two rules:
1. Torque mounting bolts incrementally (final spec: 35–40 ft-lbs for most Softail models).
2. Check shock angles with a digital protractor—deviations over 2° from Fox’s specs risk binding the suspension.
Neglecting Regular Maintenance Intervals
Fox shocks are built tough but demand consistent upkeep. Dust seals degrade faster in wet climates, while nitrogen pressure leaks cause inconsistent damping. Riders who skip servicing every 10,000 miles often face $500+ rebuild costs later.
Follow this checklist every 5k miles:
– Inspect seals for cracks or debris (replace if worn).
– Recharge nitrogen to 200 psi using a certified regulator (DIY kits are unreliable).
– Lubricate linkage points with Bel-Ray Waterproof Grease to prevent corrosion.
Mixing Incompatible Aftermarket Components
Pairing Fox shocks with non-OEM triple trees or swingarms destabilizes your suspension geometry. A Sport Glide owner in a Harley forum reported wobbles at highway speeds after installing aftermarket forward controls—a mismatch that altered leverage ratios and neutralized his Fox shocks’ benefits.
Stick to components verified by Fox’s compatibility database or consult their engineering team via [email protected] before mixing brands.
Final Thoughts: Test Before You Trust
Even flawless installation means nothing without real-world testing. Start with short rides on familiar roads, gradually increasing speed while monitoring for bottoming out, rebound noise, or handling quirks. Fine-tune compression/rebound settings in small increments (Fox recommends 1–2 clicks per adjustment) until the suspension feels planted yet responsive.
By sidestepping these mistakes, you’ll unlock the full potential of your Harley-Fox setup—transforming every ride into a masterclass in control and comfort.***


Leave a Reply