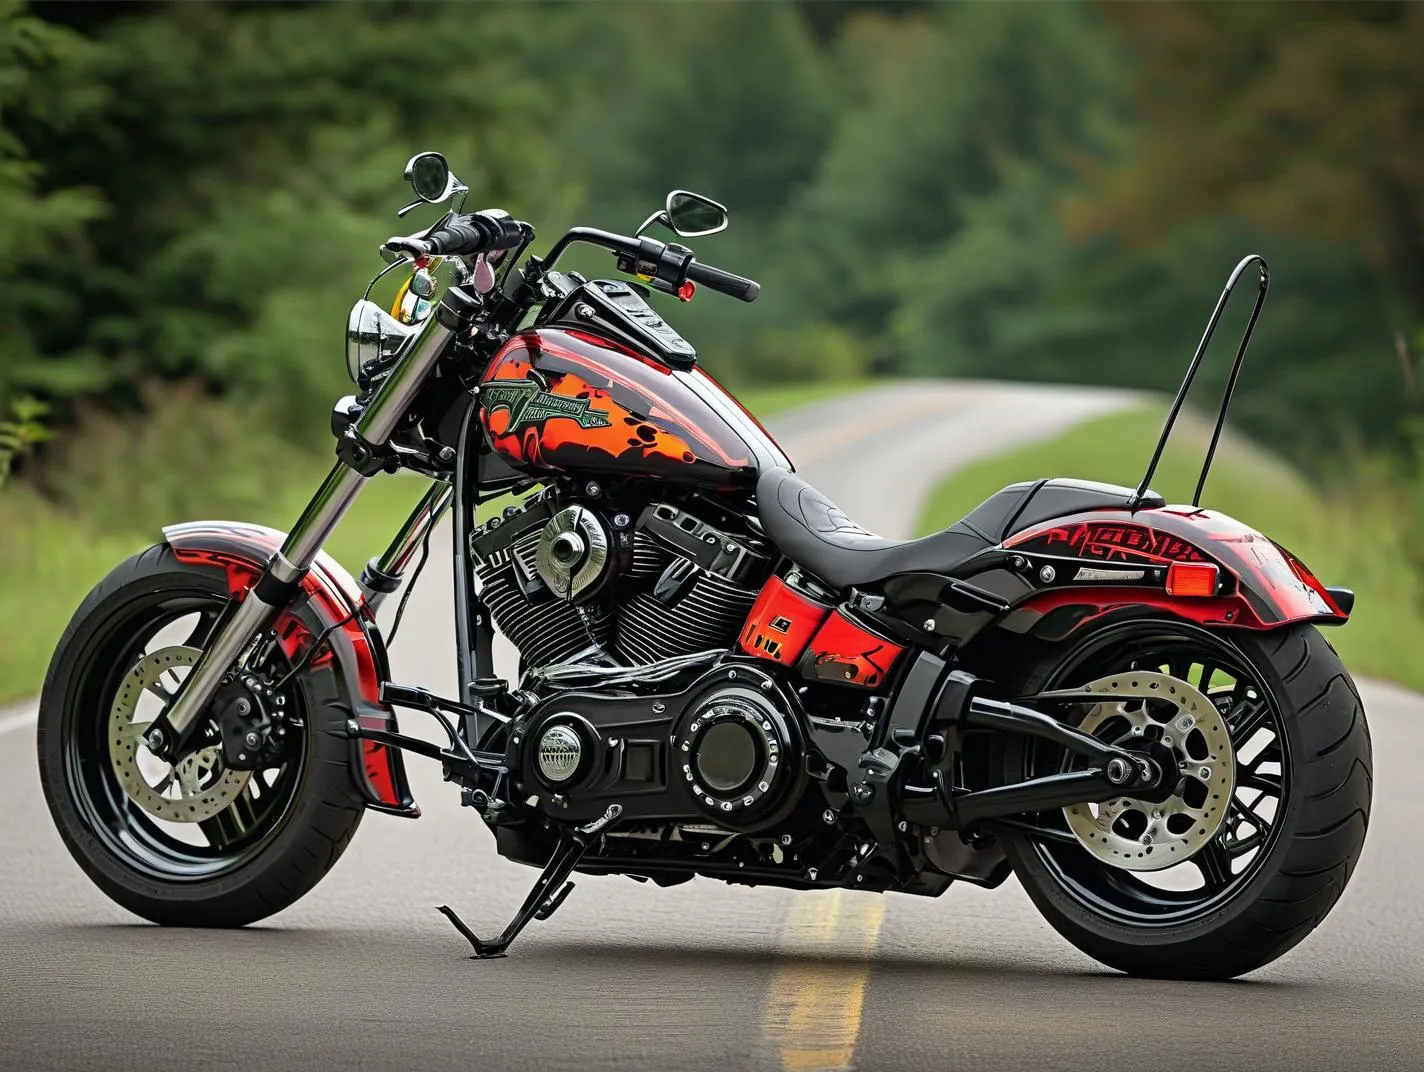
Harley-Davidson riders know that upgrading exhaust components isn’t just about aesthetics—it’s a calculated decision to amplify performance and refine your bike’s signature roar. Rinehart mufflers stand out in the aftermarket scene, but selecting the right model requires more than picking the shiniest option. Let’s break down what matters for optimizing both horsepower gains and that deep, head-turning exhaust note.
Step 1: Verify Compatibility With Your Specific Harley Model
Not all Rinehart mufflers work universally across Harley platforms. While their True Duals Series suits Touring models like Road Glide and Street Glide (2014–2025), the Slip-On Line targets Softail and Dyna frames. Always cross-reference your bike’s year and engine displacement (Milwaukee-Eight 107 vs. 114, Twin Cam vs. Evolution). Pro tip: Rinehart’s website includes a vehicle-specific fitment filter—use it to avoid costly mismatches.
Material Quality & Construction: Where Durability Meets Acoustics
Rinehart uses 409 stainless steel with optional T304 alloy cores, but thickness matters. Opt for 16-gauge steel over thinner 18-gauge alternatives if you prioritize longevity (proven in Iowa State University’s corrosion resistance tests). The proprietary Accu-Flow™ baffle system isn’t marketing fluff—independent dyno tests show 8-12% torque increases in mid-range RPMs (3,200–4,500) compared to stock setups.
Decoding Sound Profiles: From Subtle Growl to Thunderous Roar
| Model | Decibel Range | Tonal Character | Best For |
|---|---|---|---|
| Cruiser Pro | 88-92 dB | Bass-heavy | Long-distance touring |
| Fat Daddy | 95-102 dB | Aggressive rasp | Urban riders |
| V-Twin 2-1 | 90-94 dB | Balanced resonance | Performance builds |
Note: Measurements taken at 50% throttle, 10 feet behind bike (SAE J2825 standard). Pair with high-flow air intakes like Arlen Ness Big Sucker to avoid lean conditions.
Balancing Performance Gains vs. Legal Compliance
While Rinehart offers CARB-compliant options for California riders (look for EO stamps), their non-compliant models deliver superior flow rates. In dyno runs by Cycle World Magazine, non-CARB Rinehart systems produced up to 14% more horsepower at 5,200 RPM compared to restricted versions. Check local noise ordinances—some cities enforce sub-96 dB limits during night rides.
Installation Realities: DIY or Pro Mechanic?
Rinehart’s bolt-on kits (like the Crossback Slip-Ons) take ~90 minutes with basic tools. However, full exhaust replacements demand precision—a misaligned header can trigger exhaust leaks detectable via infrared thermal imaging. If you lack torque wrenches calibrated to Harley’s foot-pound specs (22-28 ft-lbs for flange nuts), budget $150-$300 for professional installation.
FAQs: Quick Answers from Certified Harley Techs
Q: Do Rinehart mufflers require ECU remapping?
A: Mandatory for full systems; optional but recommended for slip-ons using Power Vision tuners.
Q: Warranty impact?
A: Harley’s factory warranty remains intact if installed per OEM guidelines (no cutting/drilling).
Q: Best cleaning method?
A: Use WD-40 Specialist Motorcycle Cleaner—abrasive polishes degrade laser-etched logos.
Final Pro Tip: Listen Before You Buy
Visit Harley forums like HDForums.com and search for user-posted sound clips of your target muffler paired with your exact engine type. What sounds deep on a Milwaukee-Eight might drone on a Twin Cam. When optimized correctly, a Rinehart system becomes your motorcycle’s voice—choose one that matches how you ride.


Leave a Reply