Maintaining a Harley-Davidson motorcycle requires precision, and one common challenge riders face is accessing the oil filter during routine changes. Oil filter relocation kits solve this problem by repositioning the filter to a more accessible location while improving engine efficiency. With multiple options available, choosing the right kit can significantly impact maintenance ease and long-term performance. This guide compares top-rated Harley Davidson oil filter relocation kits, evaluates their features, and provides actionable insights to help riders make informed decisions.
Why Consider an Oil Filter Relocation Kit?
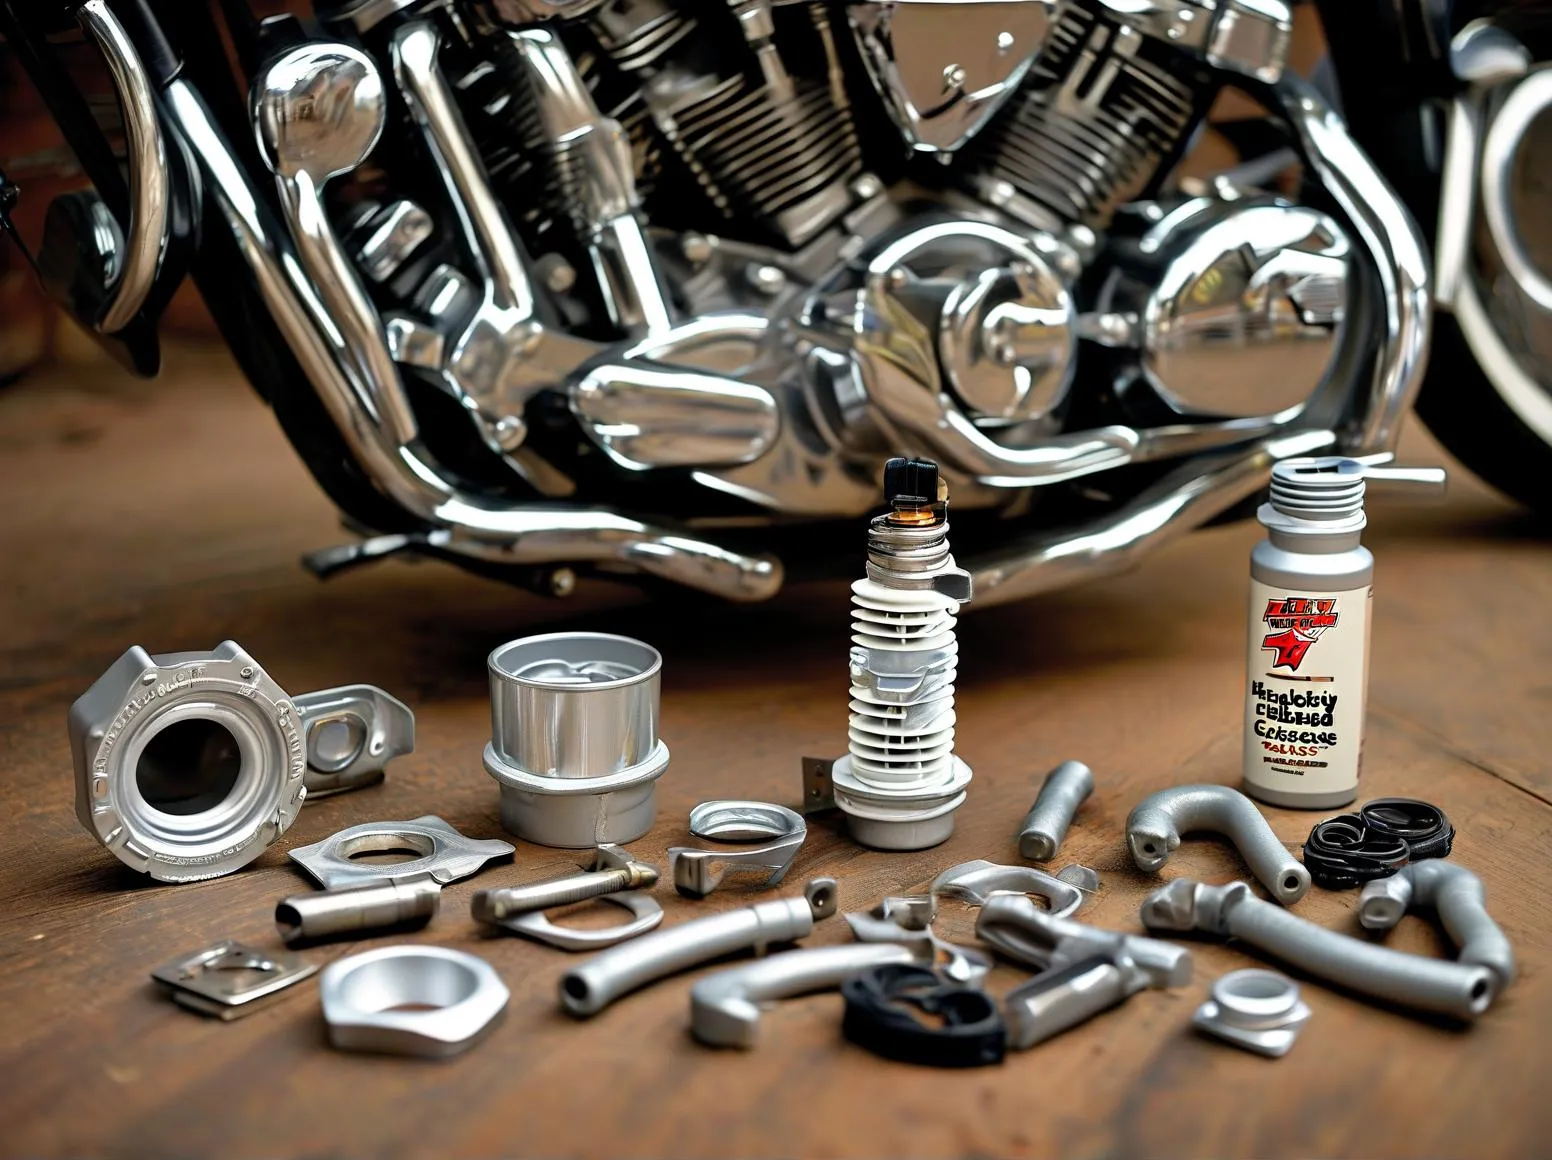
Harley engines, particularly in touring models like the Road King or Street Glide, often position the oil filter in tight spaces. This design forces riders to dismantle components like exhaust pipes or primary covers during oil changes—a time-consuming and frustrating process. Relocation kits simplify maintenance by:
– Improving access for faster, cleaner oil changes.
– Reducing spill risks with strategic placement.
– Enhancing cooling through optimized oil flow (supported by SAE International studies).
For riders prioritizing convenience and engine longevity, these kits are a worthwhile investment.
Top Harley-Davidson Oil Filter Relocation Kits Compared
1. Kuryakyn Hypercharger Oil Filter Relocation Kit
Key Features:
– CNC-machined billet aluminum construction for durability.
– Includes stainless steel lines and AN fittings for leak resistance.
– Compatible with most Twin Cam and M8 engines.
Pros:
– Easy installation with clear instructions (average 45–60 minutes).
– Aesthetic appeal with customizable finish options.
Cons:
– Higher price point (~$220) compared to basic kits.
Best For: Riders seeking premium build quality and visual customization.
2. Jagg 10-Row Oil Cooler & Relocation Kit
Key Features:
– Integrates a 10-row oil cooler with relocation functionality.
– Thermostatically controlled for optimal operating temperatures.
– Fits Softail, Touring, and Dyna models (2007–present).
Pros:
– Dual-purpose design improves engine cooling and accessibility.
– Reduces oil temperature by up to 25°F (Jagg performance data).
Cons:
– Bulkier design may require additional clearance checks.
Best For: Long-distance riders in hot climates or high-performance setups.
3. Drag Specialties Economy Oil Filter Relocation Kit
Key Features:
– Budget-friendly solution (~$130) without sacrificing reliability.
– Steel braided lines and aluminum mounting bracket included.
Pros:
– Lightweight and compact for minimal space requirements.
– Compatible with most Harley models post-1984.
Cons:
– Lacks advanced features like cooling integration.
Best For: Casual riders needing basic functionality at an affordable price.
4. S&S Cycle Easy Access Oil Filter Kit
Key Features:
– Direct relocation to the front engine mount for tool-free access.
– High-flow design maintains OEM oil pressure levels.
Pros:
– Eliminates the need to remove other components during changes.
– Durable powder-coated finish resists corrosion.
Cons:
– Limited compatibility (specific to Twin Cam engines).
Best For: Mechanics and DIY enthusiasts prioritizing speed and simplicity.
Critical Factors When Choosing a Kit
- Compatibility: Verify fitment for your Harley model and engine type (e.g., M8 vs. Twin Cam). Cross-reference manufacturer charts before purchasing.
- Material Quality: Opt for kits with anodized aluminum or stainless steel components to prevent corrosion and leaks.
- Cooling Needs: If riding in high temperatures or towing, consider integrated oil coolers like Jagg’s thermostatic system.
- Ease of Installation: Look for kits with pre-assembled lines and detailed guides—complex setups may require professional help ($100–$200 labor cost).
Installation Tips & Maintenance Best Practices
- Pre-installation Prep: Drain the oil completely and clean the mounting area to avoid debris ingress. Use thread locker on fittings to prevent vibrations from loosening connections over time.
- Post-installation Check: Start the engine and inspect for leaks at idle. Monitor oil pressure gauges (if equipped) for irregularities during initial rides.
- Routine Maintenance: Replace relocation kit hoses every 25,000 miles or per manufacturer guidelines to ensure longevity.
Final Recommendations
For riders balancing cost and performance, the Drag Specialties Economy Kit offers reliable functionality without overspending. Those prioritizing cooling efficiency should opt for the Jagg 10-Row Kit, while the Kuryakyn Hypercharger stands out for its premium build and customization potential. Always purchase from reputable retailers like RevZilla or Dennis Kirk to guarantee authentic parts and warranties.
By selecting a kit tailored to your riding style and mechanical needs, you’ll streamline maintenance routines and safeguard your Harley’s engine health for years to come.

Leave a Reply