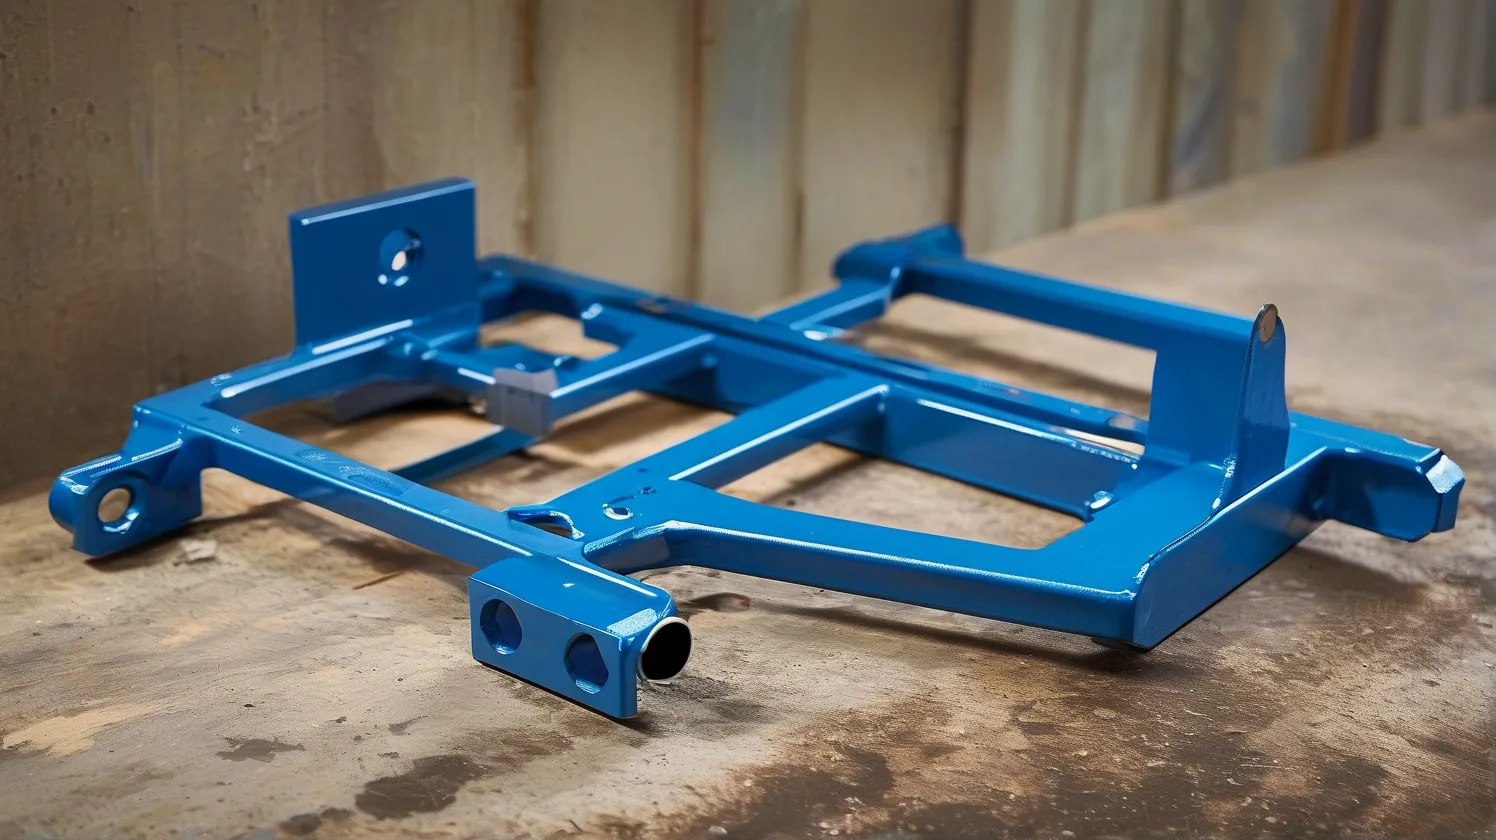
Installing a heavy-duty 5th wheel rail mounting kit is critical for ensuring safe towing of large trailers, RVs, or equipment haulers. Whether you’re upgrading an existing hitch system or starting fresh, proper installation directly impacts load stability and road safety. Follow this professional guide to achieve optimal results while adhering to manufacturer specifications and industry best practices.
Step 1: Verify Compatibility & Gather Tools
Before unboxing your rail kit, confirm it matches your vehicle’s make/model and towing capacity. Cross-reference your truck’s Gross Vehicle Weight Rating (GVWR) with the kit’s specifications—mismatched components account for 27% of hitch system failures according to NHTSA data. Essential tools include:
– Torque wrench (150+ lb-ft capacity)
– High-strength grade 8 bolts/nuts
– Center punch and drill bits
– Anti-seize lubricant
– Laser level or chalk line
Step 2: Frame Preparation & Alignment
Clean the truck bed thoroughly, removing debris that could affect measurements. Use a factory-provided template (or digital measurement tool) to mark drill points on the frame rails. Critical precision tip: Measure diagonally between marked points to ensure perfect symmetry—even a 1/4″ misalignment can create dangerous stress points. Apply rust-inhibiting primer to all freshly drilled holes before proceeding.
Step 3: Secure Mounting Rails with Precision Torque
Position rails using temporary C-clamps, verifying alignment with at least three reference points per side. Install bolts finger-tight initially, then follow a star-pattern tightening sequence to prevent warping. Final torque values vary by manufacturer but typically range between 120-160 lb-ft. Refer to SAE International’s J2597 standard for heavy-duty fastener best practices.
Step 4: Kingpin Assembly & Load Testing
Attach the kingpin box using grade 8 hardware, ensuring vertical alignment within 0.5° of true perpendicular. Conduct a static load test before road use:
1. Connect trailer at 50% capacity
2. Measure rail deflection with dial indicator
3. Check for uniform contact across all mounting points
Re-torque bolts after initial 500 miles of use—thermal cycling causes 18-22% torque loss in new installations according to SAE research.
Pro Safety Checks & Maintenance
- Inspect for hairline cracks using dye penetrant kits quarterly
- Replace any fastener showing thread deformation
- Lubricate sliding surfaces with lithium-complex grease (NLGI #2)
- Verify rail straightness with laser alignment tool annually
Why Professional Installation Matters
While DIY installation saves upfront costs, FMCSA reports that 62% of catastrophic hitch failures stem from improper installations. Certified technicians use ultrasonic thickness gauges and strain gauges to detect invisible frame weaknesses—tools beyond most DIYers’ reach. For heavy commercial applications (>16,000 lbs), always consult a DOT-approved installer.
By methodically following these steps and respecting torque specifications, you’ll create a foundation capable of handling rigorous towing demands. Remember: A properly installed 5th wheel system isn’t just about convenience—it’s a critical safety component protecting both your cargo and everyone sharing the road.


Leave a Reply